What Is Azure Virtual Network? Advantages of Using Azure Virtual Network
What Is Azure Virtual Network?
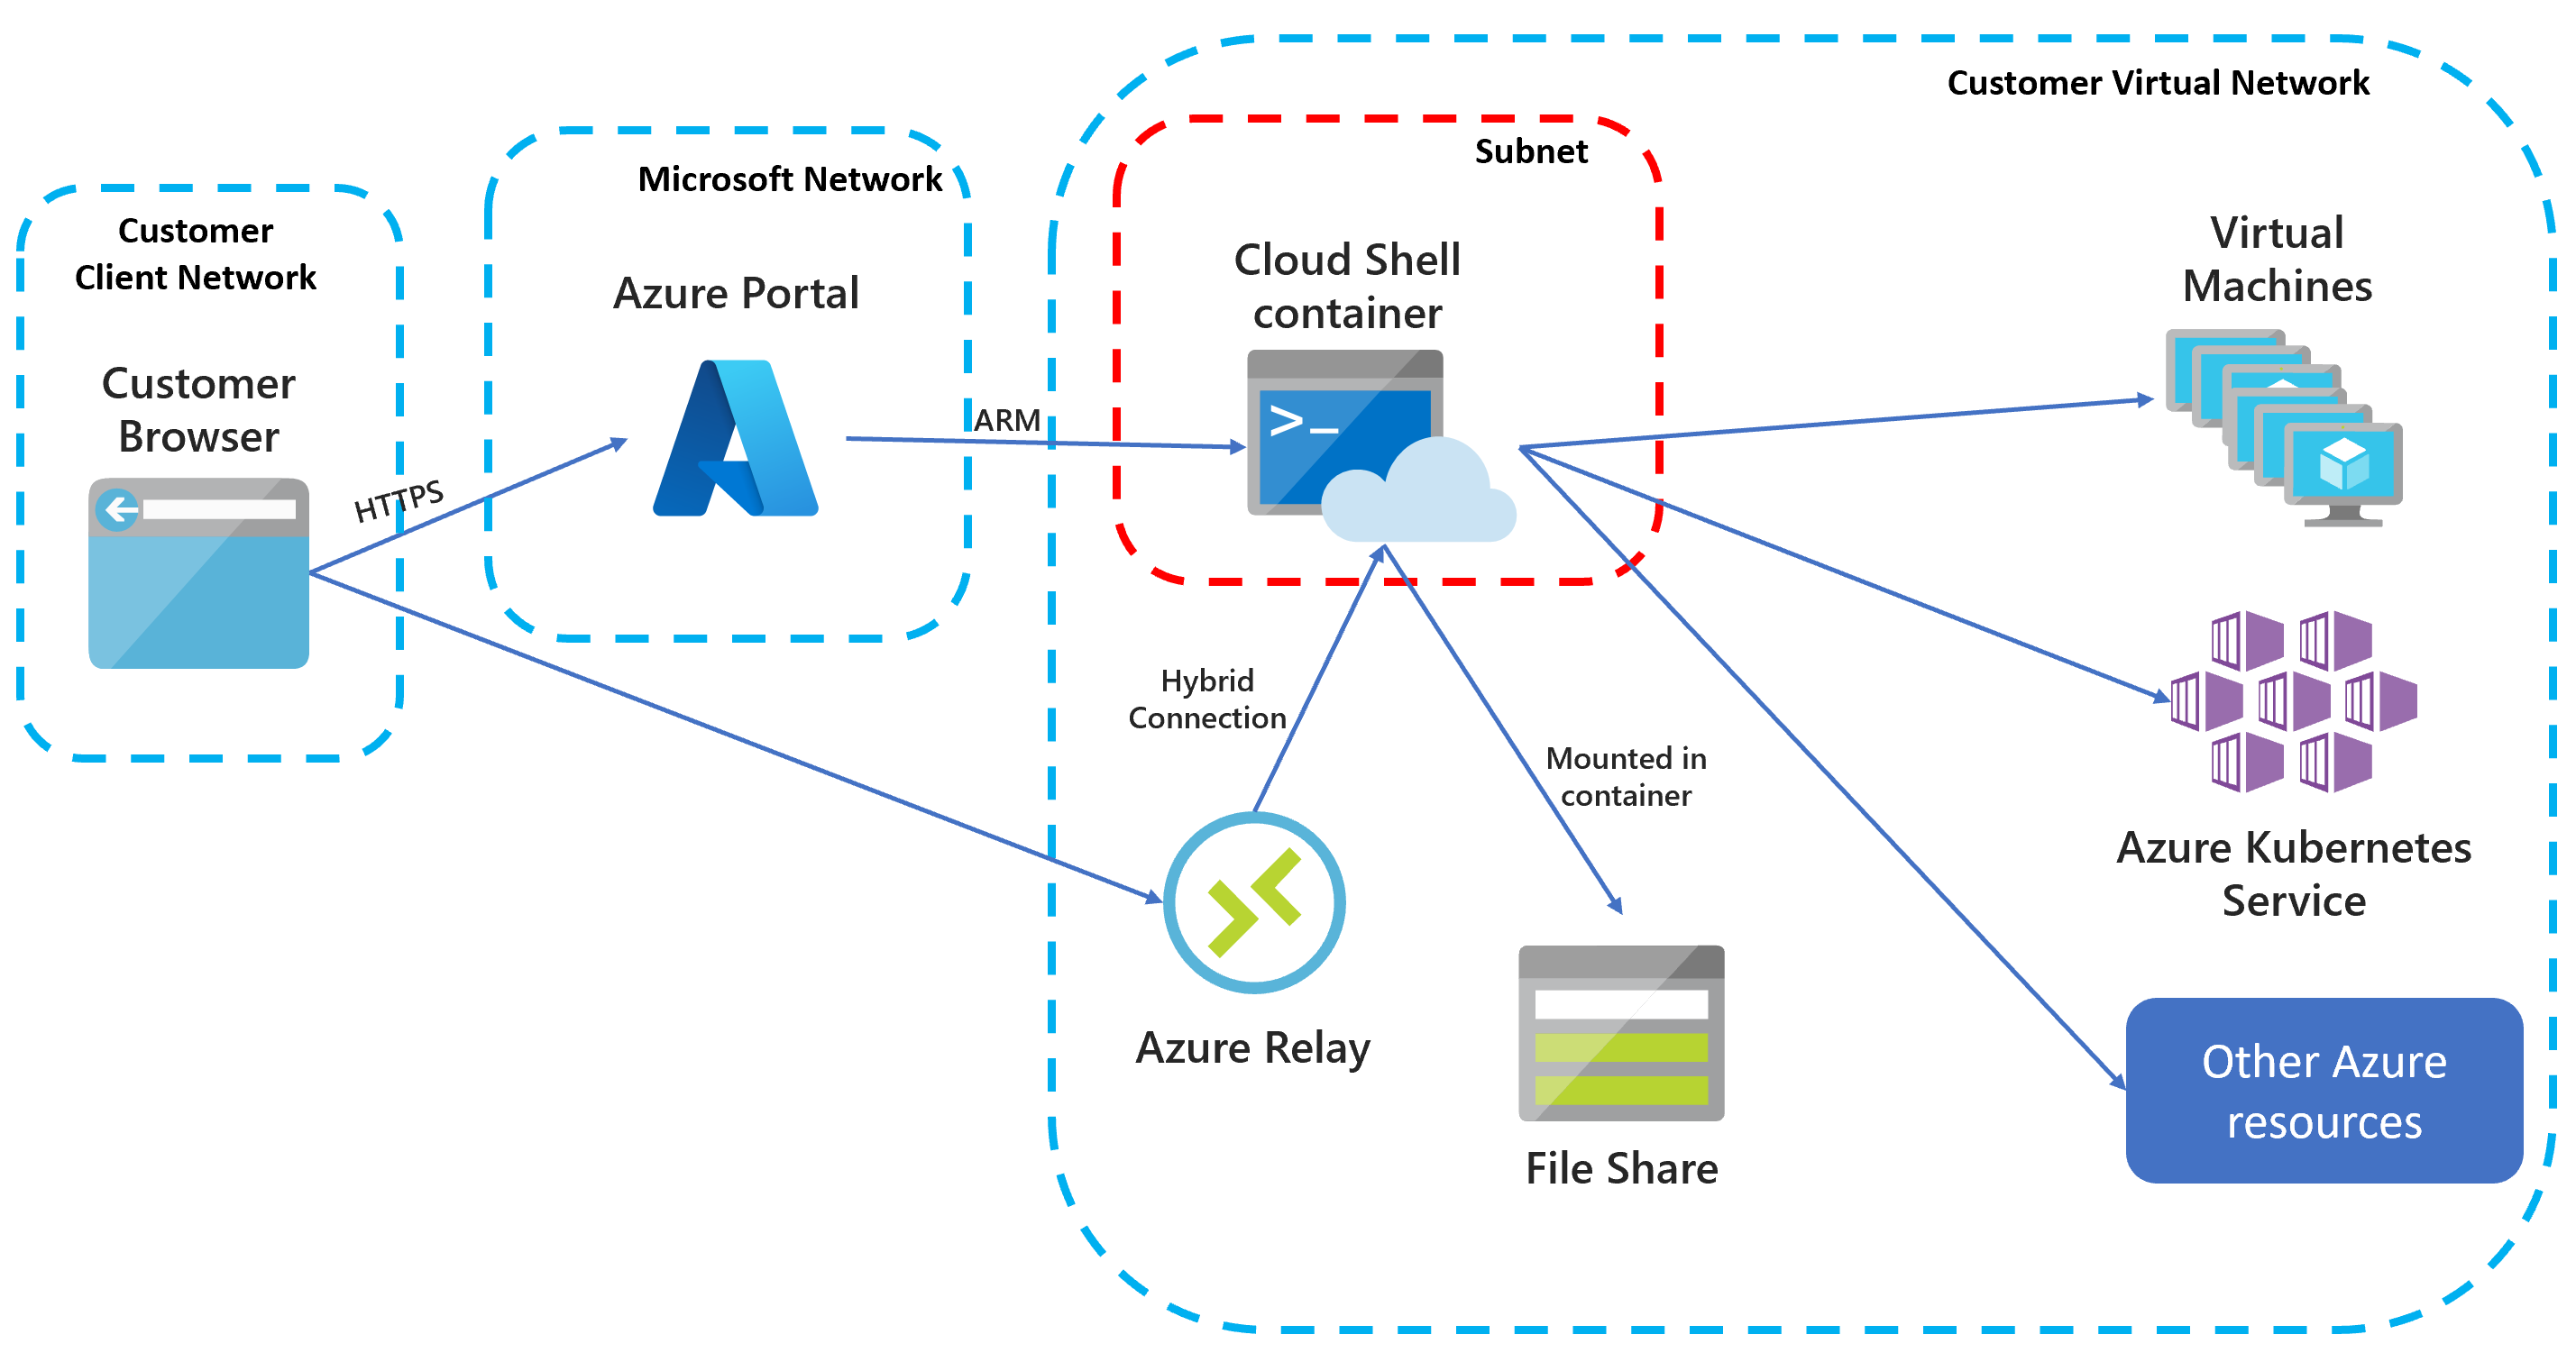
- An Azure Virtual Network (VNet) is a network or environment that can be used to run VMs and applications in the cloud.
- When it is created, the services and Virtual Machines within the Azure network interact securely with each other.
Advantages of Using Azure Virtual Network
Some of the major advantages of using Microsoft Azure VNet are as follows:
- It provides an isolated environment for your applications
- A subnet in a VNet can access the public internet by default
- We can easily direct traffic from resources
- It is a highly secure network
- It has high network connectivity
- It builds sophisticated network topologies in a simple manner
Moving on, let’s have a look at the components of Azure VNet.
Components of Azure VNet
Azure networking components provide a wide range of functionalities that can help companies build efficient cloud applications that meet their requirements.
The components of Azure Networking are listed below, and we have explained each of these components in a detailed manner:
- Subnets
- Routing
- Network Security Groups
Get Certified and Future-Proof Your Career
Microsoft Certified: Azure Administrator Associate
Subnets
- Subnets let users segment the virtual network into one or more sub-networks.
- These sub-networks can be separated logically, and each subnet consists of a server.
- We can further divide a subnet into two types:
- Private
- Public
- Private – Instances can access the Internet with NAT (Network Address Translation) gateway that is present in the public subnet.
- Public – Instances can directly access the internet.
Routing
- It delivers the data by choosing a suitable path from source to destination.
- For each subnet, the virtual network automatically routes traffic and creates a routing table.
Network Security Groups
- It is a firewall that protects the virtual machine by limiting network traffic.
- It restricts inbound and outbound network traffic depending upon the destination IP addresses, port, and protocol.
Want a Job at AWS? Find Out What It Takes
Cloud Architect Master’s Program
How to Launch an Instance using Azure VNet?
- First, create a virtual network in the Azure cloud
- Next, create subnets into each virtual network
- Now, assign each subnet with the respective instance or Virtual Machine
- After which you can connect the instance to a relevant Network Security Group
- Finally, configure the properties in the network security and set policies
- As a result, you will be able to launch your instance on Azure
Moving forward, we will see a demonstration on creating an Azure virtual machine and virtual network step-by-step.
Demo: Step-By-Step Demo of Creating Azure Virtual Machine and Virtual Network
Step 1 − First, log into your Azure Management Portal, select ‘New’ at the bottom left corner.
Step 2 − Next, on the Network Services go to Virtual Network -> Quick create.
Step 3 – Now, enter the name and leave all other fields empty and click ‘next’.
Step 4 − Finally, click on ‘Create a Virtual Network,’ and it is done.
Note: Now, in the same VNet, create a Virtual machine
Step 5 – First, select ‘create’ to build a new Virtual Machine with Windows Server 2012 R2 Datacenter.
Step 6 – Once the fields are entered, select the existing resource group that you had created for the virtual network and select OK.
Learn the Key Azure Concepts
Microsoft Certified: Azure Administrator Associate
Step 7 – Now, choose a desired size and configuration by selecting DS1_V2 Standard type
Note: By default, we would choose a Virtual Network.
Step 8 – Now select the subnet as Front End Subnet and do not change the public IP address. Also, keep the Network Security Group as none.
Step 9 – Create a new availability set and set a new name to it.
Next, set the fault domains as 2 and then disable the Guest OS Diagnosis section.
Step 10 – Finally, click and select ‘create’.
Congratulations, you have successfully created a VM.
This is all the basic information you need to know about Microsoft Azure Virtual Network.
Conclusion
We explored all about Microsoft Azure VNet and its benefits, Components of Azure VNet, how Machine Learning works with SageMaker, how to Launch an instance using Azure VNet, and finally, we also saw a demo on how to create an Azure virtual machine and virtual network.
Whether you’re an experienced AWS Architect or you’re aspiring to break into this exciting industry, enrolling in our Cloud Architect Master’s program will help you with all levels of experience in master AWS Cloud Architect techniques and strategies.
Share this content:


